Turning beautiful botanical prints into cross stitch using image conversion: how to get it to work
Quick answer: upload your picture to an image to cross stitch pattern converter, choose the size and the number of colours, then tidy up the result in an editor by merging colours, removing isolated stitches and adding backstitch for fine detail.
Getting images, photos or prints and turning them into pixellated cross stitch style designs is easy now with the advent of technology. Turning them into high quality cross stitch designs is not. To illustrate this, I’ve chosen an ostensibly simple (and beautiful) print from the Book of Flower Studies and used Heddle’s image to cross stitch pattern tool as a lesson in turning images into patterns.
The picture
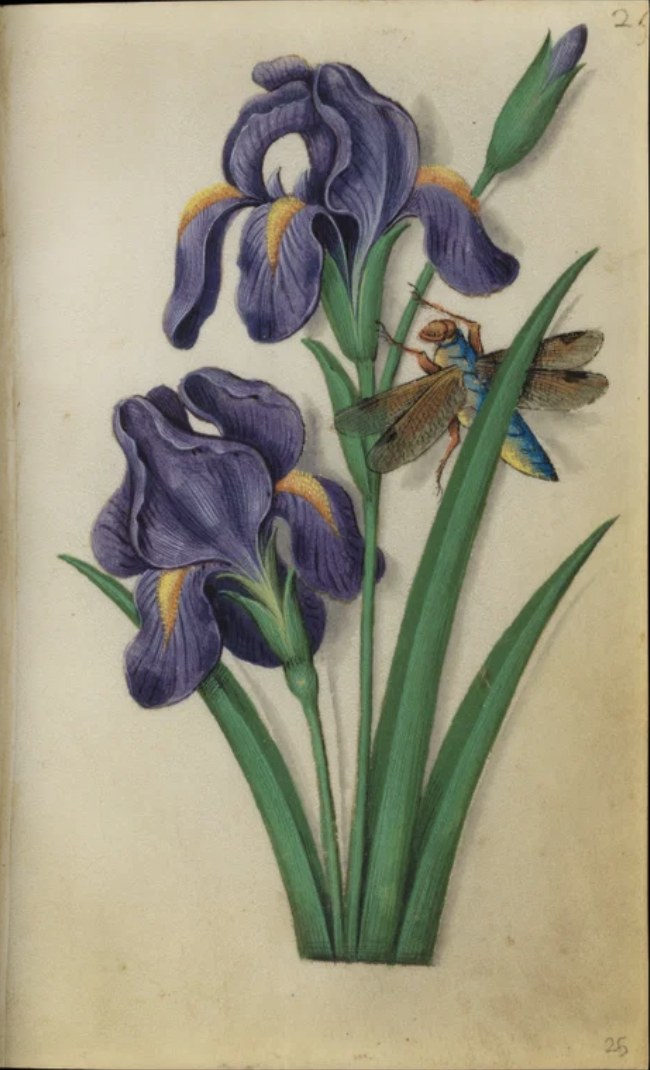
The picture I’ve chosen is an iris with a dragonfly from the Book of Flower Studies, made in Tours, France around 1510 to 1515 by the Master of Claude de France. The book has 39 flower paintings, and The Met says each of the flowers can be found in the gardens at The Met Cloisters. It’s in the public domain, so anyone can reuse the image. It should work quite well as there’s a distinctive colour palette.
Picking the right settings
Size. I started small, at 26 × 40 stitches, and as you can see below, this is the result:
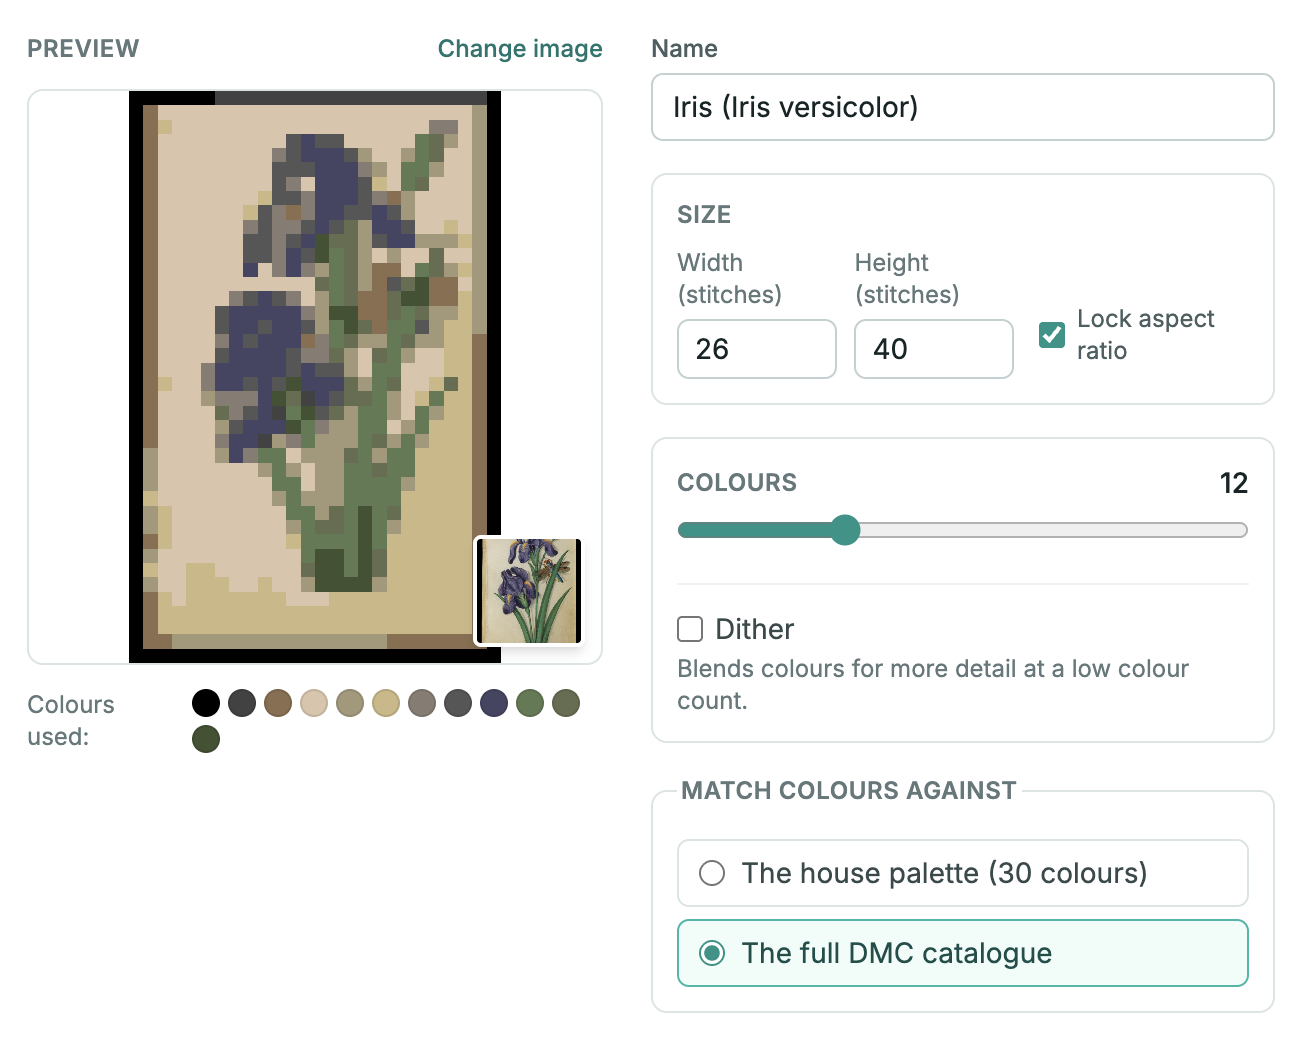
There aren’t enough stitches to draw a petal, so the irises are blobs and the dragonfly has disappeared. I didn’t want to stitch a massive design, so I went with as small as possible while still picking up the key silhouettes. Through experimentation, I found this was 106 × 160 stitches.
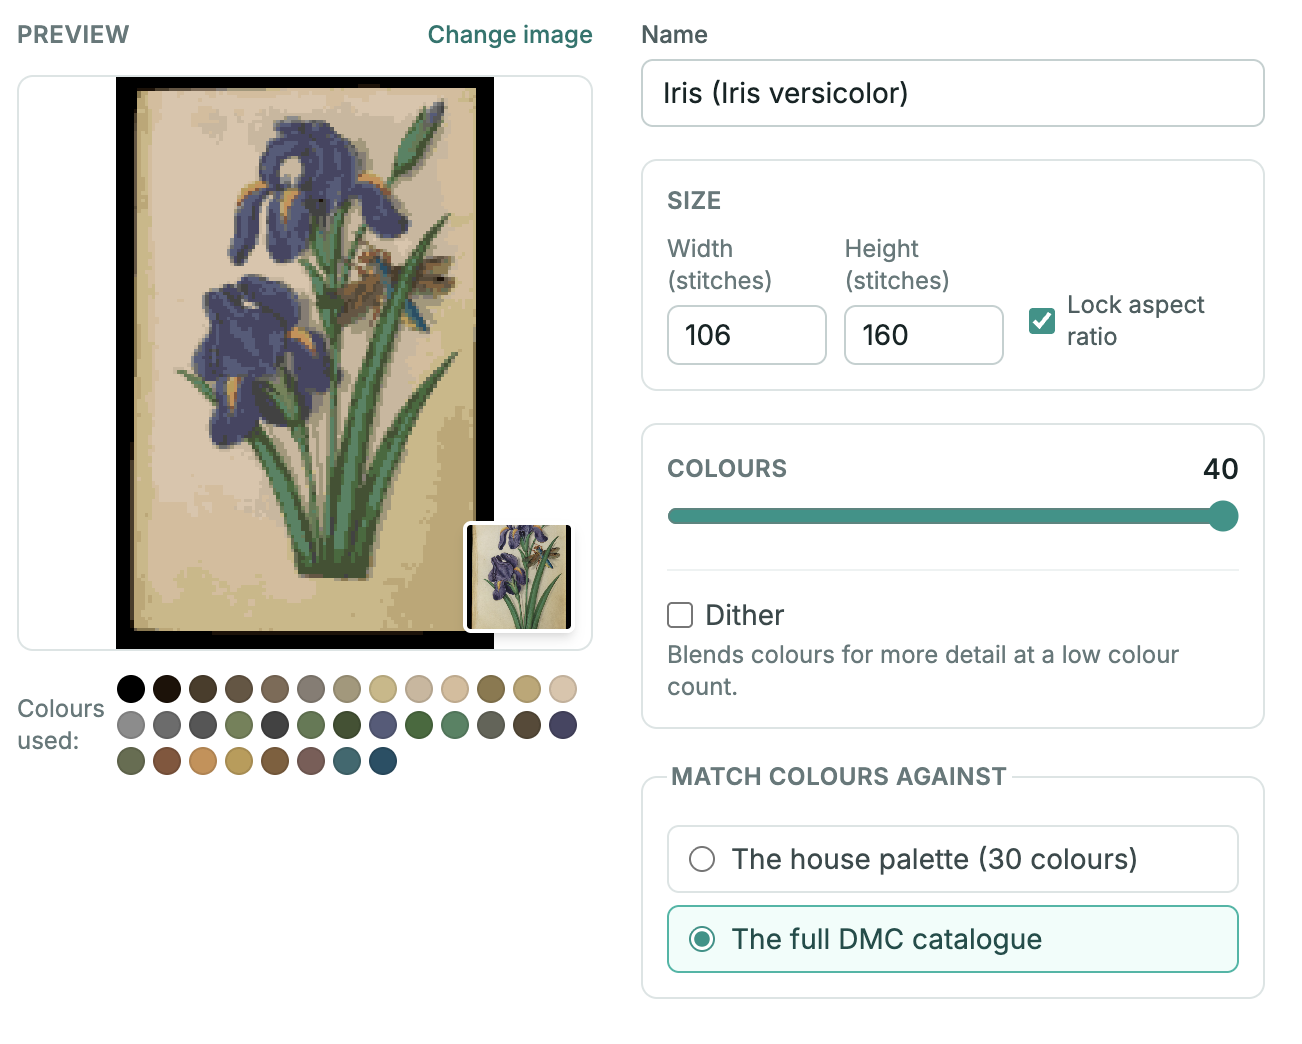
Number of colours. I like to choose the maximum number of colours (the converter goes up to 40) and then merge them manually afterwards, so I get the distinctions I want rather than leaving it to the tool.
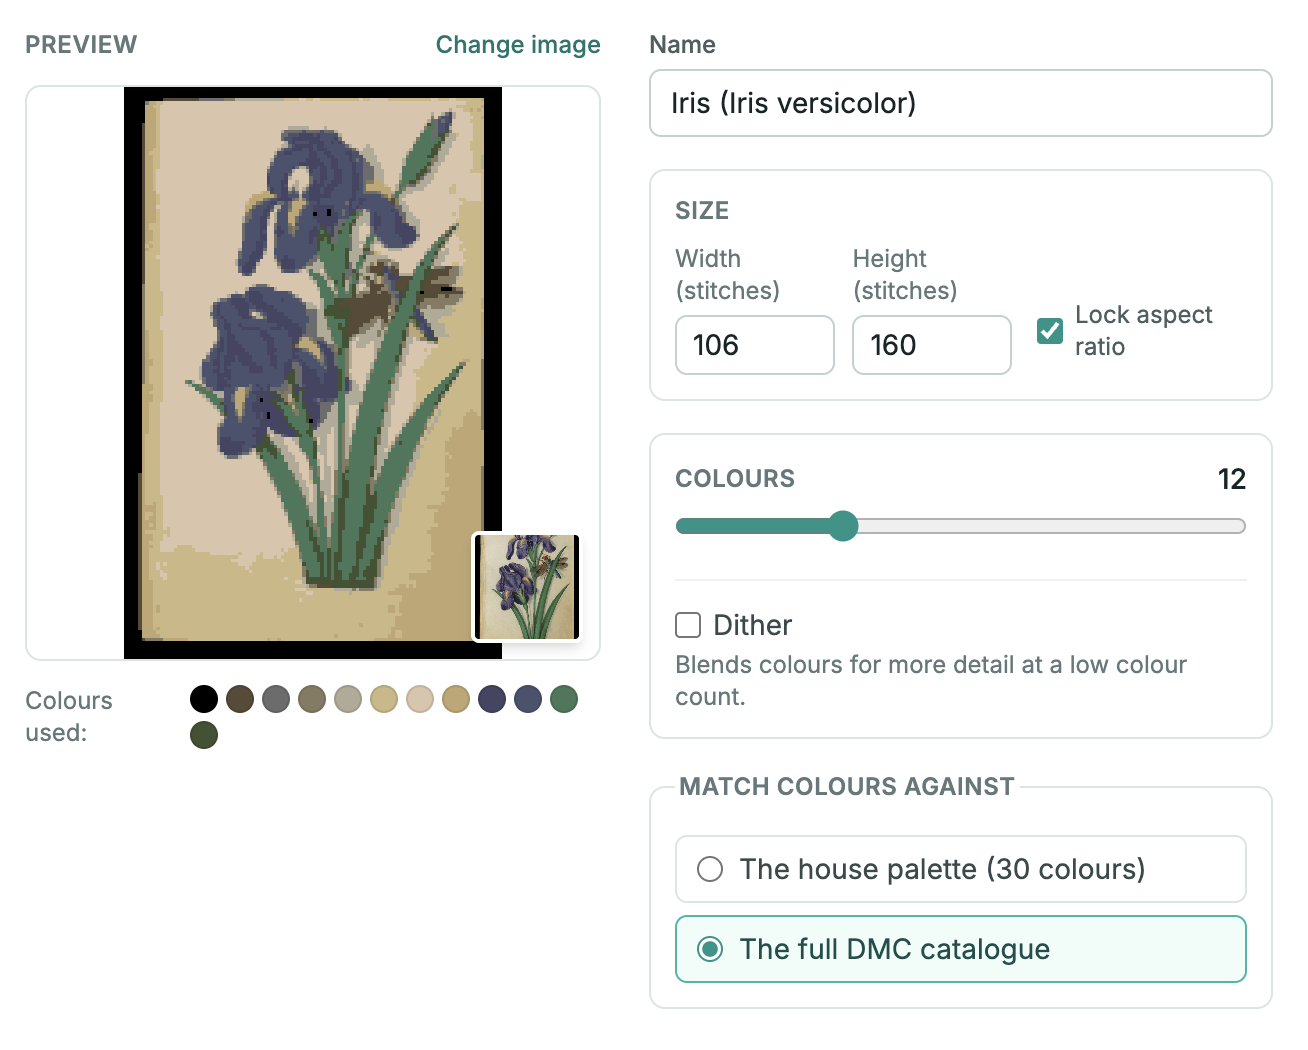
When I tried 12 colours at the same size, the dragonfly lost its wings and a few black stitches appeared in the petals.
Dithering. Dithering blends colours to give more detail when you’re using fewer of them, by scattering stitches of nearby colours together. It gives a distinctive look.
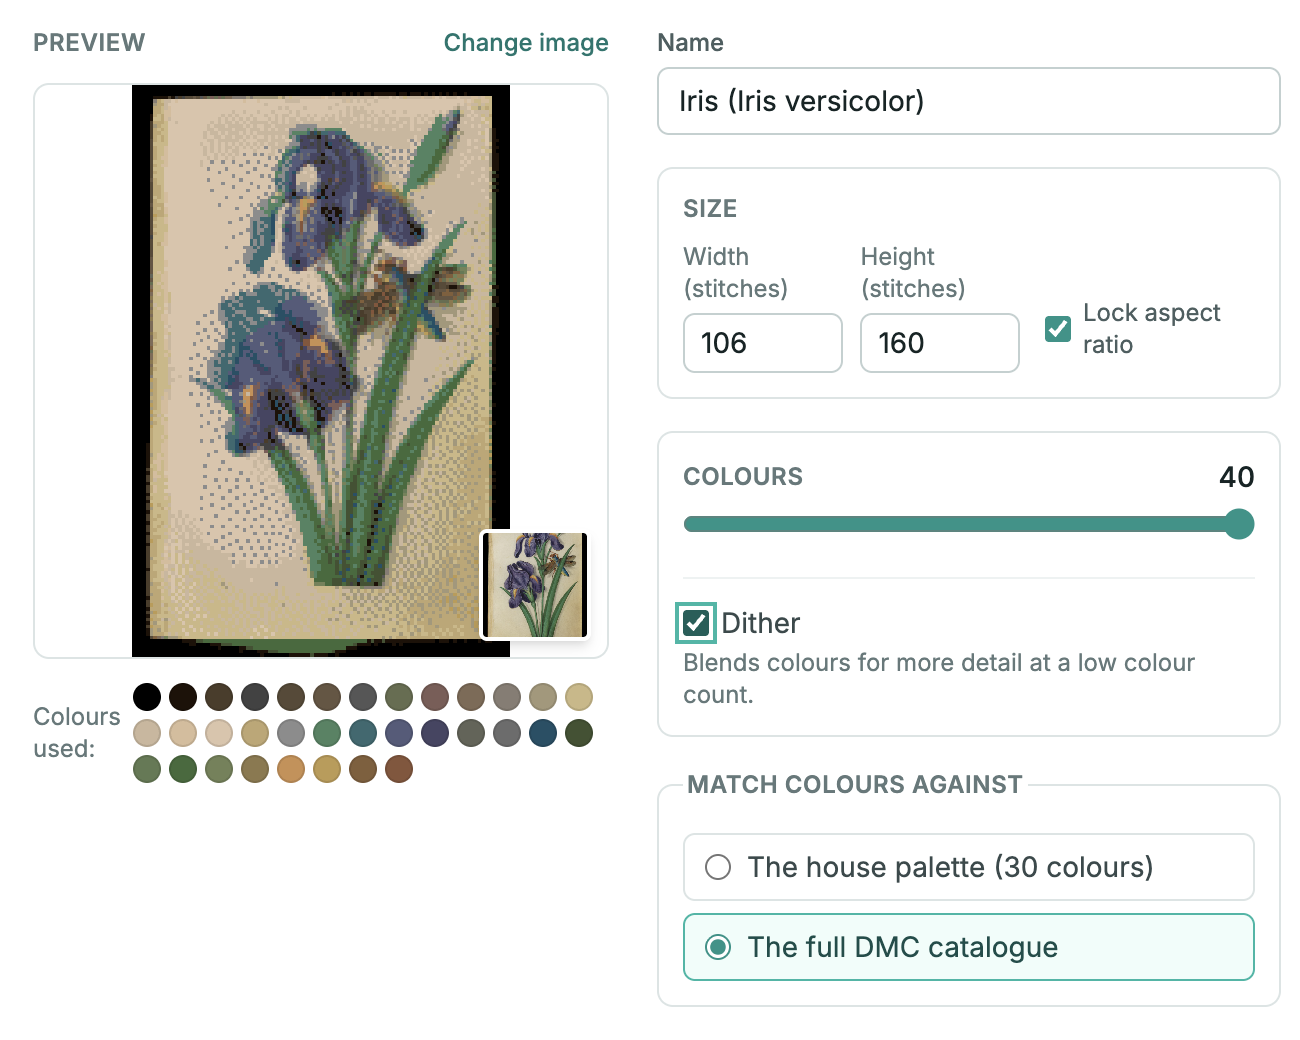
It’s fiddly to stitch and not what I was going for, so I didn’t choose it.
Tidying up in the editor
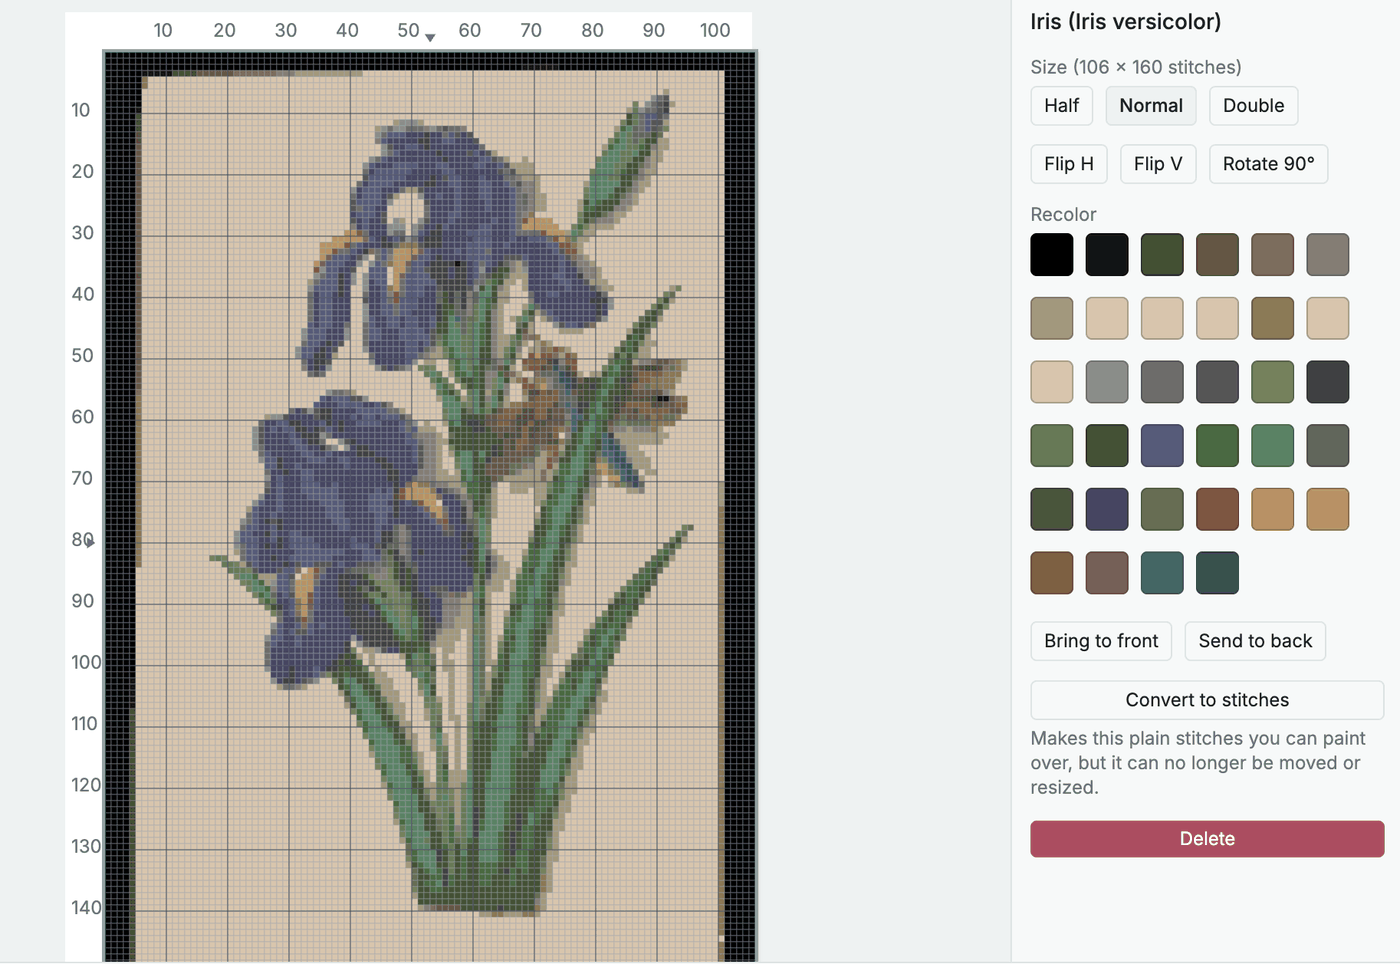
Happy with my settings, I started tidying up in the editor. First I turned the image into individual stitches, which is very useful if you want to edit it. (Once you’ve done this you can’t move or resize the image, so make sure you’re happy with the size first.) Then I changed the background to a single colour and cropped to the design.
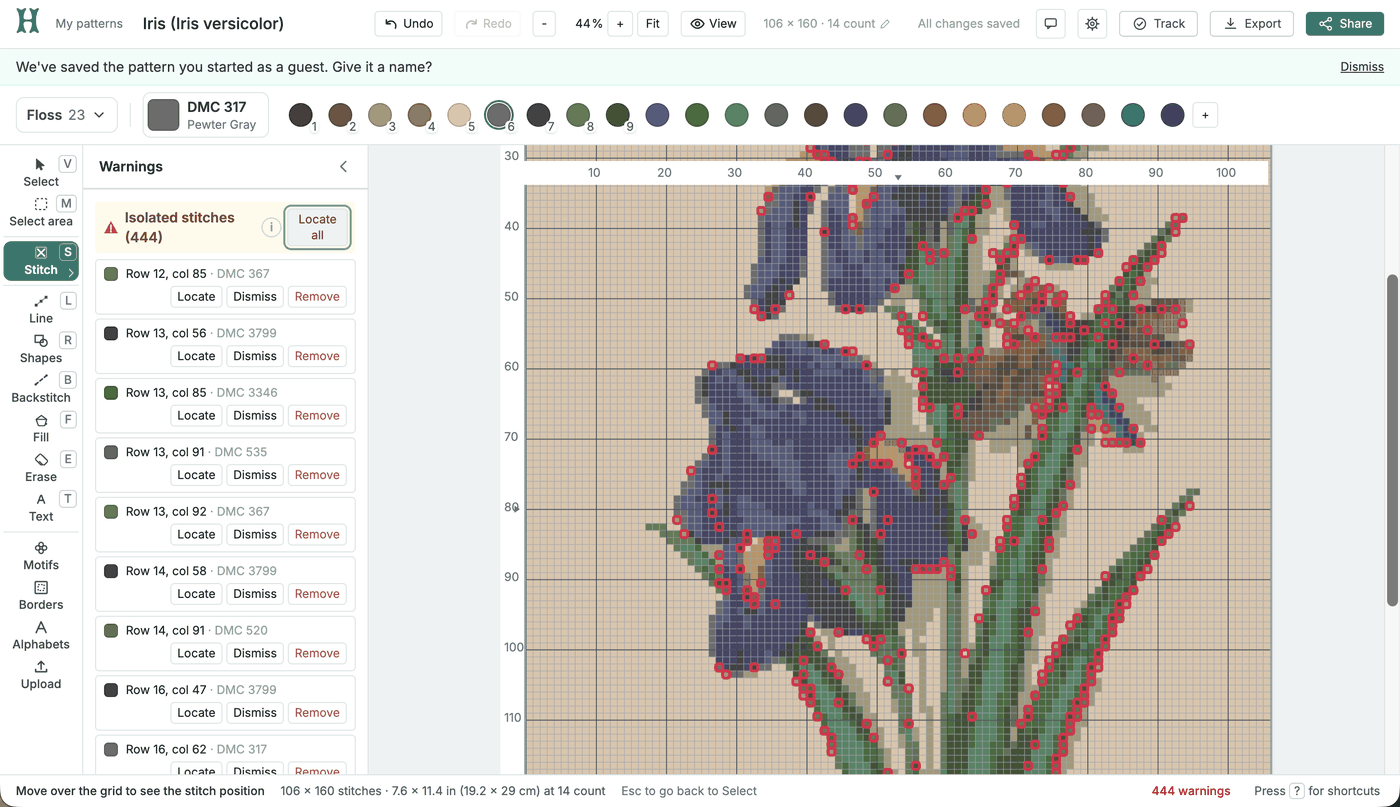
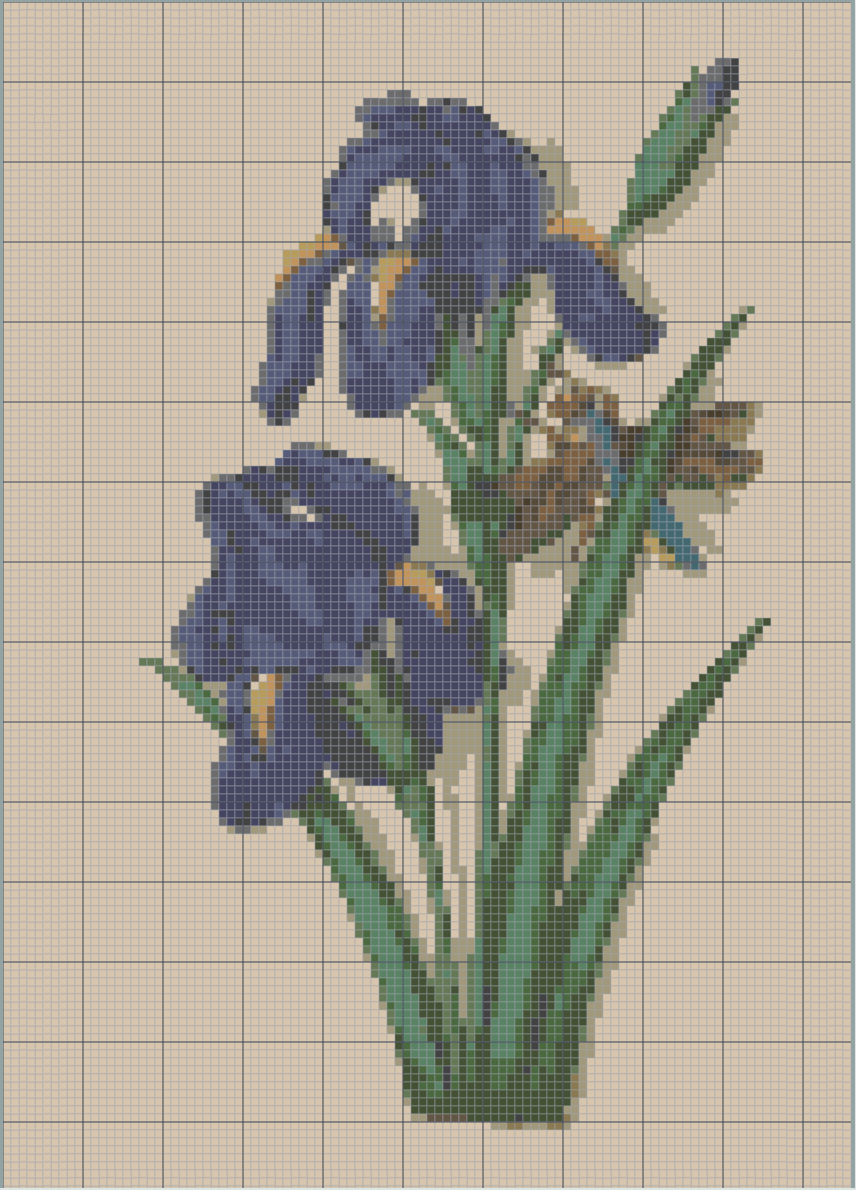
As you can see from Heddle’s built-in warnings, I had a lot of isolated stitches: 444 of them. An isolated stitch is a single stitch with no neighbours of the same colour, which means starting and finishing a thread for one cross.
Here’s what I did about them:
- Merged similar colours: the 40-colour version had lots of near-identical shades used in different places, so I merged those together.
- Merged colours that weren’t used much: highlighting one colour at a time shows you everywhere it’s used, so it’s easy to spot a thread that’s only in a few stitches and merge it into a neighbouring colour.
- Left some stitches alone: the shadowing around the outlines meant the odd random individual stitch. I left some of these in, but only when they were very near other stitches of the same colour.
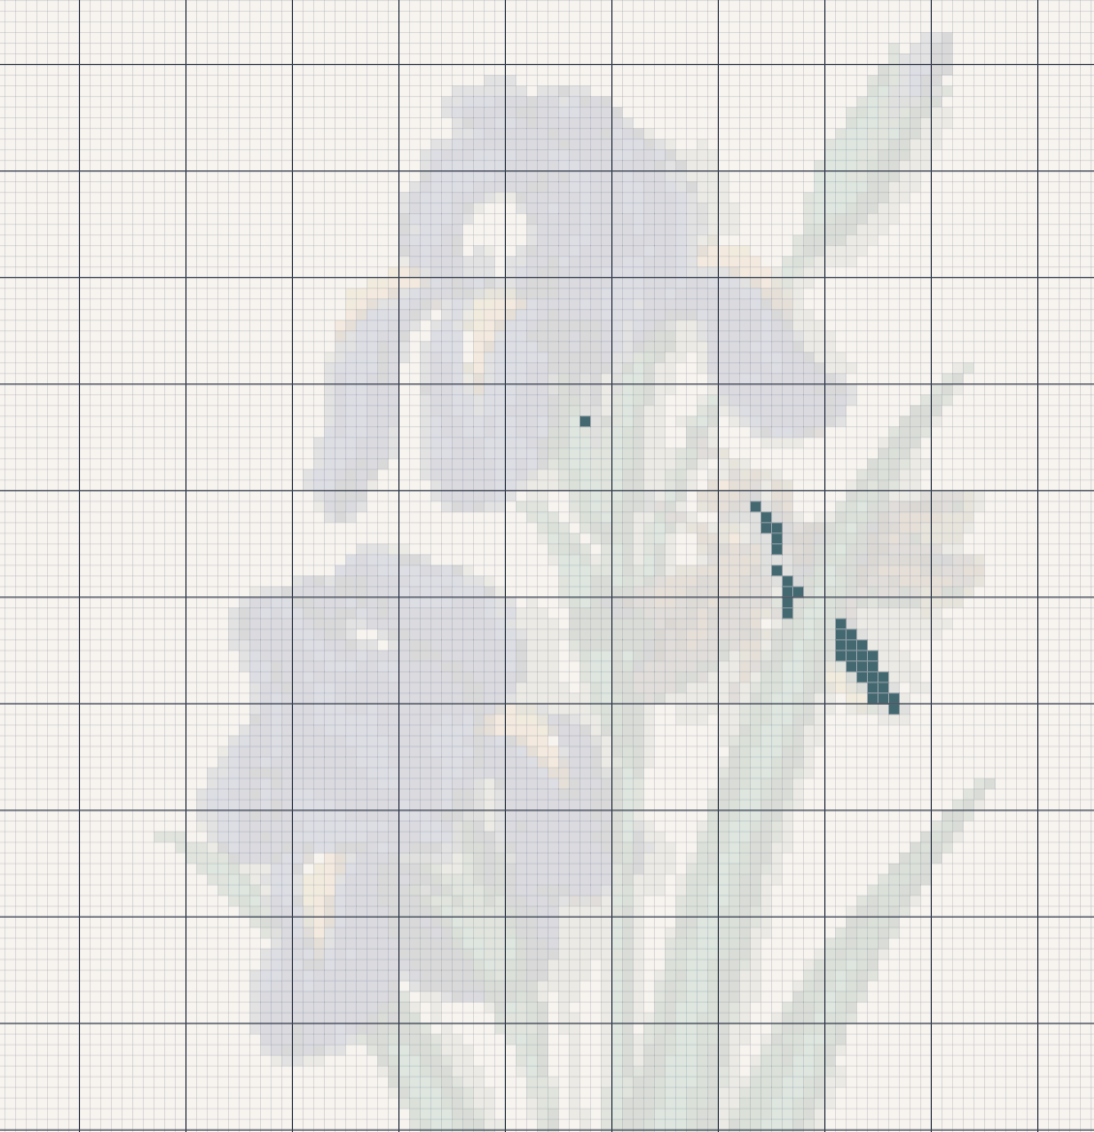
That took me from 23 threads down to 17, and from 444 warnings to 214.
Adding backstitch details
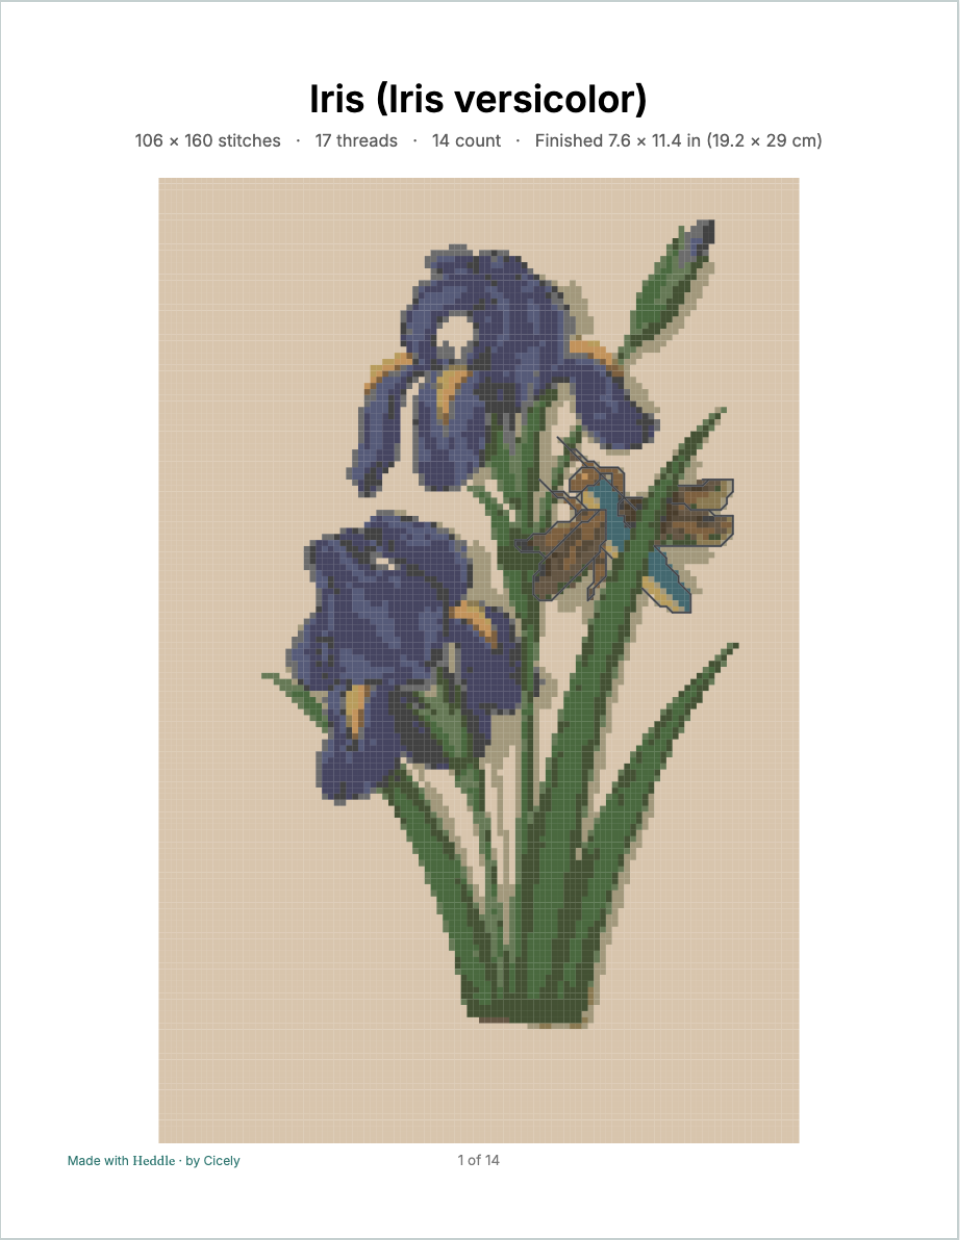
Even with all of this done, the dragonfly didn’t come out very well. You can understand why: there’s a lot of small detail in a tiny area. That made it a perfect use for backstitch. I outlined the wings, body and head, and simplified the colours around it.
Finishing the design
The finished design is 106 × 160 stitches in 17 threads on 14 count. That’s 7.6 × 11.4 inches (19.2 × 29 cm) and 16,960 stitches. You can open the pattern, see the thread list and track your stitches there.
Planning your own projects
If you want to turn your own picture into a pattern, you can try the image to cross stitch pattern converter. These free tools will help you plan the rest:
- Fabric size calculator: how much fabric to cut.
- Floss estimator: how many skeins you need, per colour and in total.
- Hex to DMC converter: the closest DMC thread to any hex code. I wrote about how it works in matching a colour palette to DMC thread.
This painting is in the public domain, so I could use it freely. If you’re converting someone else’s photo, check you’re allowed to first.